Create memorable wedding favors with homemade chips! Follow our step-by-step guide for DIY wedding chip favors that your guests will love.
Wedding favors are a great way to show your appreciation to your guests and to give them something to remember your special day. While there are many different types of wedding favors to choose from, personalized chip bags are a fun and unique option that will delight your guests. Not only are they customizable, but they are also easy and affordable to make yourself. In this step-by-step guide, we’ll show you how to create DIY wedding chip favors that your guests will love.
Step 1: Choose Your Chips
The first step in creating your DIY wedding chip favors is to choose your chips. You can choose any type of chip that you like, but it’s important to consider the flavors and textures that your guests will enjoy. Classic options like potato chips, tortilla chips, and popcorn are always popular, but you can also consider more unique options like veggie chips or pita chips.
Step 2: Select Your Bags
Once you’ve chosen your chips, it’s time to select the bags you will use to hold them. You can purchase plain, clear bags from a craft store or online, or you can choose to create your own bags from scratch. If you choose to create your own bags, you will need to purchase paper, a paper cutter or scissors, and adhesive tape. Cut the paper into rectangles that are the appropriate size for your chips and fold them in half to create a bag shape. Use adhesive tape to seal the sides of the bag.
Step 3: Design Your Labels
Now it’s time to design your labels. You can create your labels using a design program like Canva or Adobe Illustrator, or you can purchase pre-designed labels from a wedding supply store or online. Be sure to include your names, the date of your wedding, and a special message or design that is meaningful to you.
Step 4: Print Your Labels
Once you’ve designed your labels, it’s time to print them. You can print your labels on sticker paper or regular paper and use glue to attach them to your bags. If you’re using clear bags, consider printing your labels on transparent sticker paper to create a seamless look.
Step 5: Fill Your Bags
After you’ve attached your labels, it’s time to fill your bags with chips. Use a small scoop or measuring cup to ensure that each bag contains the same amount of chips. Be sure to seal the bags tightly so that the chips stay fresh until your guests are ready to enjoy them.
Step 6: Display Your Favors
Finally, it’s time to display your DIY wedding chip favors. You can place them on a table near the exit of your reception or include them at each place setting on the tables. Consider adding a sign or note that encourages guests to take a bag and enjoy it later.
In conclusion, creating DIY wedding chip favors is a fun and easy way to add a personal touch to your wedding and show your guests how much you appreciate them. With just a few simple steps, you can create a unique and memorable favor that your guests will love. So, grab some chips, bags, and labels, and get started on creating your own DIY wedding chip favors today!
-
Wedding Chip Alternatives: Creative Ways to Thank Your Guests
Looking for something different? Discover creative wedding chip alternatives to thank your guests. Surprise your guests with a unique treat.
-
DIY Wedding Chip Favors: a Step-by-Step Guide
Create memorable wedding favors with homemade chips! Follow our step-by-step guide for DIY wedding chip favors that your guests will love.
-
Top 10 Personalized Wedding Chip Designs
Make your wedding chips unforgettable with these top 10 personalized chip designs. From monograms to custom logos and get inspired.
-
5 Unique Wedding Chip Ideas to Wow Your Guests
Take your wedding chips to the next level! Impress your guests with these 5 unique and delicious wedding chip ideas.
-
How to Incorporate Wedding Chips into Your Wedding Theme?
Spice up your wedding theme by incorporating chips into your menu. Get inspired by our creative ideas for serving wedding chips.
-
The History and Significance of Wedding Chips and How They Became Popular
Explore wedding chips’ history, popularity in modern weddings, and their significance as a tasty and delicious snack.
-
How to Make Your Own Wedding Chips at Home?
DIY your wedding chips and add a personal touch to your big day! Follow our guide for making delicious homemade chips.
-
The Best Wedding Chip Flavors for Your Big Day
Add some flavor to your wedding! Discover the best chip flavors to serve on your big day. Impress your guests with a tasty snack.
-
How to Choose the Perfect Wedding Chip for Your Guests?
Crunch time! Ensure your guests love your wedding chips by choosing the perfect flavor. Follow our guide for chip perfection on your big day.
-
Five Ways to Reuse Wedding Chip Bags
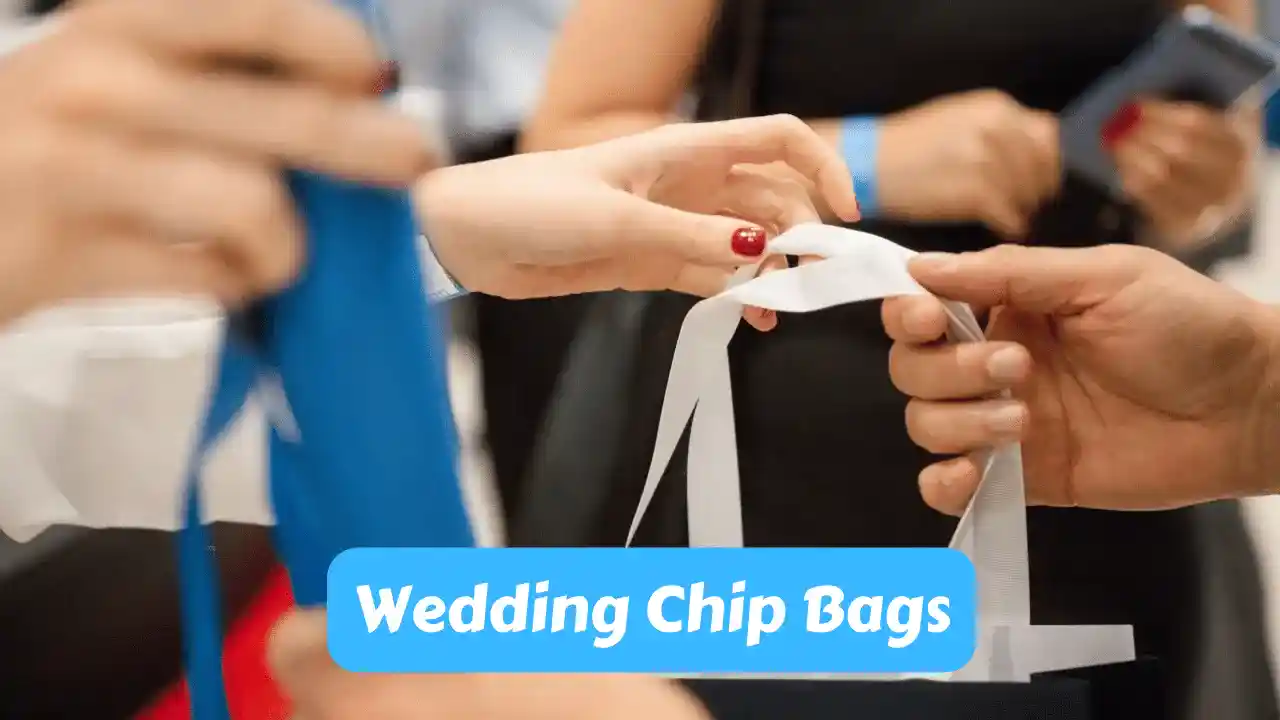
If you’re looking for a unique and affordable way to add a personal touch to your wedding, consider using chip bags!
